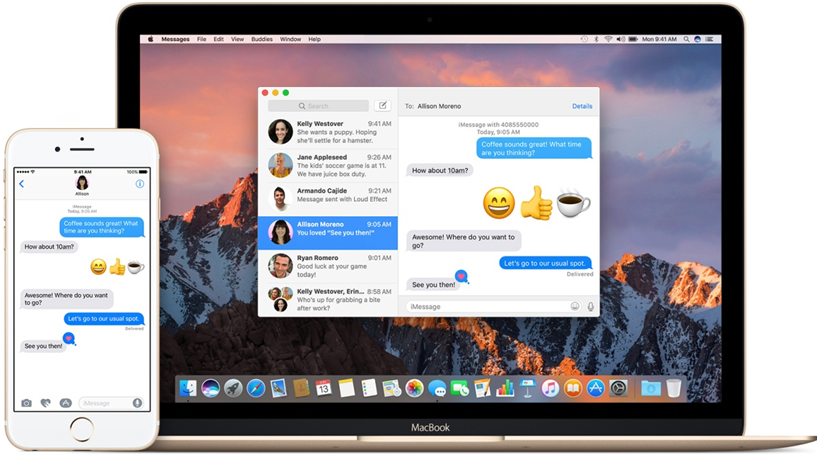
iMessage is indeed one of the very popular instant messaging services
worldwide. This service is exclusive to iOS mobile devices and Mac
computers. While iMessage is most widely used on iPhones, there are many
who use it on Mac as well. If you have a Mac computer, you don’t
necessarily have to buy an iPhone or any other iOS device to use
iMessage; you can run it all by itself. This is exactly what we are
going to discuss in this article.

In order to use iMessage
on your Mac you must have OS X 10.1 or later OS version on your
computer. It will be all the more amazing if you have one of the latest
Mac OS on your machine. Nevertheless, it will work on anything that is
not older than 10.1.
The whole point of this article is that we should be able to set up and
use iMessage on Mac without having to own an iPhone. Even if you do have
an iPhone you can run iMessage independently on Mac. You will need to
create a separate Apple ID than the one you are using on iPhone. Of
course, you can choose to use the same Apple ID on both to keep your
messages synced (again that will be counter-intuitive to what we started
with in this write up).
Hardware specs for using iMessage aren’t very demanding. You need to
have at least 1GHz processor, minimum 512MB RAM and at least 200 MB free
space on the hard drive. There is a pretty good chance you already meet
minimum system requirements.
How to Set Up iMessage on Mac
Alright, let’s get started with the set up now. This part is pretty
easy. But, make sure that you follow each step as it is laid out below.
In no time you will have iMessage up and running on your Mac. Here is
what you need to do:
1. The first thing you need to do is open Messages app on your Mac
computer. You can access it directly from the dock on the bottom. You
can also run it from Launchpad or Application folder
2. You will now see the iMessage sign in window. Here, you need to sign
in with your Apple ID and Password. Enter the details in the appropriate
fields. If you don’t have an Apple ID yet, you can click ‘Create new
Apple ID…’ on the bottom. Also, please note that if you have enabled the
two-factor authentication then you will also need to enter the
verification code after providing the Apple ID and password.
3. Now you will have access to iMessage on your Mac. But, we still need
to set it up completely. From the menu bar on the top on Mac, click
Messages and then select ‘Preferences’ from the dropdown menu.
4. When the Preferences window opens up, click the ‘Accounts’ tab
5. Here, checkthe email address which you would like to associate with
iMessage. If you haven’t attached any email address, click ‘Add Email’
and enter the email address which you would like to receive iMessages
on. Note that we are not using any phone number here. This is because
there is no iPhone with a phone number. In case you have an iPhone, you
can add that phone number here as well. But, you must be signed in with
the same Apple ID on both the devices.
6. The email address (or addresses) you have selected here will be used
by the others to communicate with you via iMessage
You have now successfully set up iMessage on Mac without iPhone or any
other iOS device. You can launch the iMessage app and send the message
to other iMessage users.

